First of all, I recommend squaring up your quilt before you begin. I may do a separate tutorial on this at some point, but basically just cut your quilt down to the desired size you want before you start attaching your binding, making sure that the edges are straight and the corners are square. This helps to make sure the sides of your finished quilt are nice and straight and at 90 degree angles to each other. Once your quilt is squared up, you're ready to start!
Step 1: Pin the starting edge of your binding (the side with the bias end) down to the side of the quilt, with the raw edge matched up with the edge of your quilt. You want to start in from one of the corners a bit by at least a few inches to avoid bulk at the corners. A few inches of your binding should be open at this point, you are only going to pin down the bottom layer of binding to the quilt. You'll only need a few pins to get started.
Step 3: After you've sewn about 5", backstitch and close the binding. Start stitching in the same place you left off, but this time with the binding closed. Backstitch at the beginning again. At this point, it helps to make sure you have your machine set to needle down, so that the needle stops in the down position when you stop stitching.
Step 4: Continue sewing with the same seam allowance (3/8" or 1/4") until you get a few inches from the corner.
Step 5: Measure in from the bottom edge of the quilt, and mark your seam allowance. After awhile you'll get familiar with how far in you need to be, and you won't have to mark it anymore if you don't want to.
Step 6: Continue sewing, stopping at the seam allowance mark you just made. Backstitch at the end and trim the threads.
Step 9: Begin sewing again at the point where you marked your seam allowance, backstitching at the beginning.

Step 11: Now we're going to get ready to close the binding. Place the loose end of the binding on top of the starting end of the binding. Take note of where the bottom bias edge is, as well as where your stitching begins through both layers of the binding. Cut the loose end of the binding about halfway between these two points.
That's it! Your binding is attached to your quilt! There will be a little pocket that you can stick your finger into, but it won't create any problems (fraying, etc) since the unfinished ends are so far inside the binding. I find this way much quicker than other methods of joining the two ends of the binding.
Other posts in this series:
Quilting Basics: Making Straight-Grain Binding


 Welcome to Bijou Lovely. This blog is named after my great grandmother, Bijou Lillian, who encouraged me to embrace all the lovely things that the world has to offer. I hope to provide you with inspiration for sewing, quilting, photography, design, and daily life here at Bijou Lovely! It's truly lovely to have you here.





I have never seen this done before but I think it's genius!
ReplyDeleteThe binding part of the quilt is the most frustrating for me. I am excited to try this method.
ReplyDeleteooh, I've never tried your ~5" starting trick - that is definitely being implemented in my next quilt. Do you always hand-finish your binding?
ReplyDeleteElisabeth - Yes! Handstitching the binding is my favorite part, so I always use that method :)
ReplyDeleteThanks for this tutorial. I had an "a-ha moment" while reading through it. I'm a newish quilter and I've been using a similar method just by guess and by golly (not feeling confident enough to try matching up the ends and trusting I won't get a pucker). Your method is even better, though, because of the way you create the channel for the end piece at the beginning.
ReplyDeleteThanks for this!
Oh! I love that little nesting trick. So much easier and looks great! Thanks for the tutorial!
ReplyDeleteaha! the suspense was killing me and now it all makes sense. that's a nifty little trick that i might have to try next time. joining the two ends of the binding at end always gives me such a huge headache.
ReplyDeleteI agree, joining the two ends always has me in a tizzy before its all said and done. I love the 5 inch starter seam-I can see how that would stabilize it so well. Thanks for sharing!
ReplyDeleteThank you for this, all help is needed to do my first quilt.
ReplyDeleteI'm going to have to try this! So much easier than fighting with joining the ends like I've been doing!
ReplyDeleteGreat tutorial, Holly! And your font looks amazing on the pictures.
ReplyDeleteThank you for this tutorial. My least favorite part of binding (which I otherwise enjoy) is joining the ends... I will have to hurry and finish another quilt so I can try your awesome method. Thanks again!
ReplyDeleteGreat tutorial on putting on binding!!
ReplyDeleteGreat tutorial, Holly! It is always fun to see how other people finish off quilts...or make quilts for that matter.
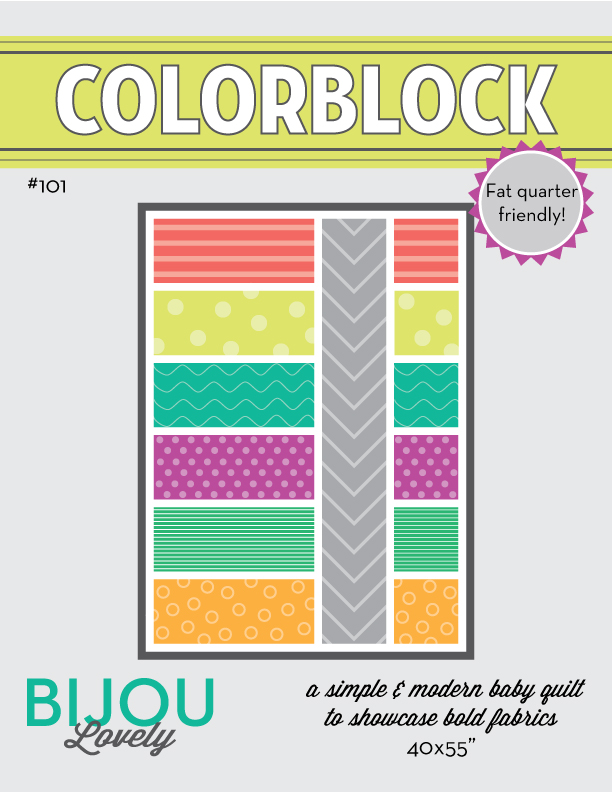
ReplyDeleteOh thank goodness you'll be doing the next one "soon" (ie hopefully sometime this fall) because I have my first quilt ever (using your color block pattern) and I am oh so nervous about the binding!
ReplyDeleteJust tried this and I'll never finish binding another way again! Thanks for the tip!
ReplyDeleteSew cool...sew easy. I needed to find an easier way to join the binding ends and this is it! Thanks so much!
ReplyDeleteFantastic! I made your color block quilt, made the straight-grain binding, and just sewed it to the quilt, all using your tutorials! I'm ready for the "how to hand sew the back" tutorial now!! :) thank you! I'm completely into quilting now!
ReplyDeleteWow! That is Fantastic! You have just helped me to continue quilting. I am more grateful than you will ever know. jlblvn@gmail.com
ReplyDeleteThank you, thank you, thank you. Great tutorial. Just what I needed.
ReplyDeleteAhhhhhh, I love you! Wish I would have known this yesterday. So excited to try this. Thanks for such a clear tutorial !
ReplyDeleteI'm putting the binding on my very first quilt and love your tutorials! Thanks for putting them up, and I'd be very interested in more. :)
ReplyDeleteThank you so much for this tutorial! I much prefer this way to begin and end the binding process. It was a big success on my daughter's quilt that I just finished off!
ReplyDeleteThank you for this! I'm about to start binding my first quilt and these pictures helped so much- - I always got confused at other tutorials... Did you ever do a post on attaching it to the back of the quilt? I love your whole blog!! :)
ReplyDelete