I'd love to see any quilts you make using this tutorial! Enjoy :)
40
 wavy quilting tutorial.
3.19.2012
A few of you have requested a tutorial on the wavy quilting I've been using on some of my quilts lately. I'm not sure how else to do this other than with a video, so I made one this weekend for you!
Hopefully it makes sense. If you have any questions, leave them in the comments and I'll answer them as soon as possible. When you're finished, your quilting should look something like this...
I'd love to see any quilts you make using this tutorial! Enjoy :)
I'd love to see any quilts you make using this tutorial! Enjoy :)
Subscribe to:
Post Comments (Atom)


 Welcome to Bijou Lovely. This blog is named after my great grandmother, Bijou Lillian, who encouraged me to embrace all the lovely things that the world has to offer. I hope to provide you with inspiration for sewing, quilting, photography, design, and daily life here at Bijou Lovely! It's truly lovely to have you here.





Yay, Holly! Great tutorial and I loved watching you sew. Man you are fast! Nice to hear your voice again =)
ReplyDeleteYay!! I can't wait to try this out! Thank you!
ReplyDeleteWhoa! You are super fast with your quilting! I love this tutorial too! I might try this with my next quilt! Thanks for sharing!
ReplyDeleteGreat tutorial! Thanks!!
ReplyDeleteawesome tutorial holly! i look forward to giving this a go.
ReplyDeletelove this! thank you for taking the time to share! doing this tonight!
ReplyDeleteI recently did the wavy line technique for a mini quilt and loved it! Liked seeing how you did it-great tutorial:)
ReplyDeleteI agree -- you're so fast! Great tutorial, I never would have thought to start along the seams then go back to fill in. Thanks for making this!
ReplyDeleteThank you for the tutorial. I was considering using this on a quilt I want to get finished and your excellent instruction gives me the confidence to give try it.
ReplyDeleteAbout to start quilting and looking for ideas. This is a great alternative to straight line quilting. Thanks so much.
ReplyDeletewhat is that fabric on the back of your quilt (with the raccoons, hedgehogs, and birds)? I love it!
ReplyDeleteEmily, the backing fabric is Critter Community Blocks in the Retro colorway, by Suzy Ultman for Riley Blake.
ReplyDeletehttp://www.fabric.com/ProductDetail.aspx?ProductID=fd4cf75c-59ae-4956-ad49-41020660b0e0
HI!
ReplyDeleteThanks so much for posting this!! Great! I have been looking forward to this tutorial! I have a few questions if you don't mind! Hopefully you can understand what I'm asking!
After you finished the green stripe, for example, you just keep going to one side of it until that side/half of the quilt is done, and then go back to the green stripe and move in the opposite direction, or do you switch sides (moving in both directions towards both edges of the quilt?)
What do you use to mark lines if you're doing straight lines on the top? I have a white chalk but do you have something that you've found you like to use? It's hard to see my chalk on some fabrics.
You pin with safety pins before you sew? Is that what those are?
I tried to sew a stripe quilt like one you made- I forget exactly what you called it, but it's got one stripe that looks like it's intersecting the rest of the stripes. It kind of looks like when you quilted yours you sewed the vertical stripe going in that direction, but then also quilted the horizontal lines in their direction... how do you do this without having a bunch of threads to cut in the middle of the quilt? (Does this make any sense?) In other words, is it possible to do the wavy line stitching/straight top stitching in two different directions?
How do you get that adorable mustache on there? Just use a zigzag when the top stitching is done?
THANKS! I love your work! It's great to learn from you!
C, Elle, & Parker --
ReplyDeleteAfter finishing one line, I usually work all the way down that side of the quilt and then go back to the green stripe and move in the opposite direction. But you can do it whichever way is easiest for you! It really only matters for your first stitches down the marked seams/lines. Starting in the center and working your way out means there is less of a chance of getting large puckers since you can smooth the fabric out as you go. You can fill in the middle lines however you like!
I use a hera marker to mark lines. It is very similar to using a bone folder to score paper. It just leaves a small crease in the fabric without leaving any discoloration.
I use basting pins to baste my quilt layers together before I quilt. Basting pins are just safety pins that are slightly bent so the quilt lies flat while the pins are attached.
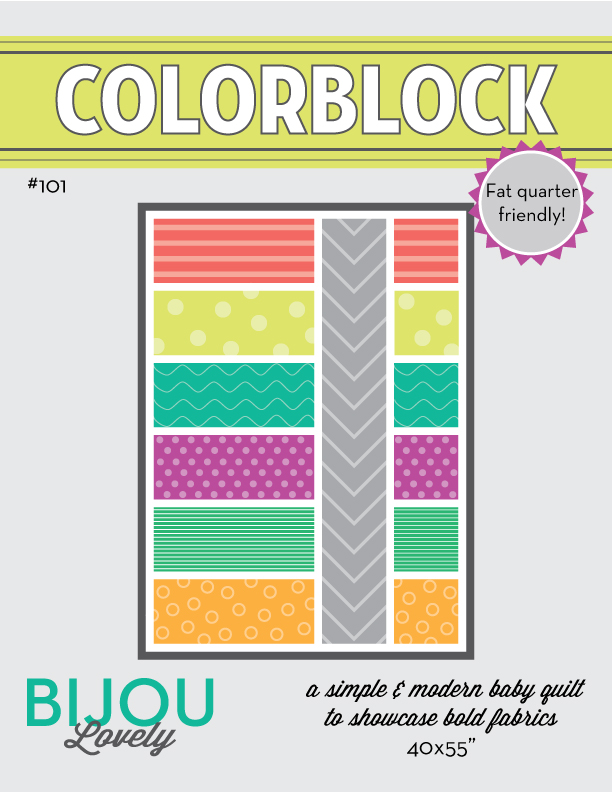
I think you're referring to the colorblock quilt. For that one I did straight line quilting down the vertical stripe and then horizontal straight line quilting down the left and the right sides of the quilt. I stopped in the middle of the quilt for each line and tied off the quilting. It's not ideal from a time perspective, but I'm not sure how else you would do it!
I appliqued the mustache on the quilt. I fused the brown Heath fabric to fusible interfacing (I used Heat N Bond I think) and then cut out the mustache from both layers. Then I fused it to the top of the quilt. I used a blanket stitch on my machine to topstitch around the mustache.
Hope this answers all your questions :)
Oh that's perfect- thanks so much!! Yeah, I thought I could figure it out with the colorblock quilt... except I had like 300 threads to tie when I was done- also for some dumb reason didn't occur to me to make sure the stitching went off the sides of the quilt so they would be sewn in with the binding... hence I'm thankful for your tutorial! :) Next quilt will be so much easier! I'm fairly new to making quilts so I appreciate the tips like your basting pins and hera marker. I'll have to check at our local quilt store! Thanks again!!
ReplyDeleteHi, new reader here! Thank you so much for your wonderful video! I'm still on my first quilt and the patchwork part is okay, but I've become a bit intimidated of quilting after having read various things online. Your pattern is quicker than most and very nice to look at, but I'm wondering about your comment "push and pull"; do you mean actual movements of such or rather "guide in different directions while the machine pulls the fabrics toward the needle"?
ReplyDeleteNina, yes, it's more of guiding the fabric in different directions while the machine pulls it towards the needle! Sorry for the confusion :)
ReplyDeleteAm I correct in assuming that feed dogs are dropped? Thanks for this video; you make this look so easy!
ReplyDeleteThe feed dogs are NOT dropped! You do this just like you would do straight line quilting. The feed dogs help pull the quilt through so you get a gradual wave.
DeleteThank you for posting this tutorial... it's exactly what I needed to see before tackling the current quilt, which is crying out for something more than traditional quilting...
ReplyDeletefantastic tutorial! very easy to follow! used it for this quilt:
ReplyDeletehttp://quiltadaisy.blogspot.com/2012/07/quilts-with-legs.html
Thanks for the great tutorial, I'm using it at the minute and it's made quilting a big quilt so easy :D
ReplyDeleteThank you so much for sharing this tutorial!
ReplyDeleteHave you used a walking foot please?
ReplyDeleteYes, always use a walking foot for this kind of quilting!
DeleteThank you for this great video!
ReplyDeleteDo you lower your feed dog for this type of quilting?
ReplyDeleteI just finished a quilt using this tutorial, and it turned out great! Thanks for the easy and fun design!
ReplyDeletehttp://www.patchworkduck.com/2013/05/all-roads-lead-to-home-quilt.html
As I am typing this, my sewing machine sits, unopened, in its box. I'm THAT new. LOL! I have done a lot of "research" and I really like this type of quilting. I want to design quilts with a modern look, and I think this is the ticket. I do have a question. Do you just let your seam run off the fabric? Do you cut the thread before starting the next seam? Is the binding enough to keep the seams from coming undone? This part is not obvious to me. Thank you so much! Great tutorial.
ReplyDeleteawesome video thank you
ReplyDeleteI just finished this quilt and used your technique... thank you so much! It was the perfect quilting solution for a time-crunch, race to the finish quilt!
ReplyDeletehttp://seanandshey.blogspot.com/2014/03/when-card-wont-do.html
What thread color did you choose? With so many colors, how do you choose one that is not the focal point?
ReplyDeleteThank you so much for the clear tutorial valerie
ReplyDeleteI am late discovering this great video--thanks, Valerie. I always think of quilting with a walking foot or free motion as like driving a car. This is on a very curvy road!
ReplyDeleteThanks for the great tutorial! As a fairly new quilter, I have only done stitch-in-the-ditch machine quilting so far but wanted something nicer for a strip quilt I just pieced, this will be perfect! Thanks again!
ReplyDeletethis tutorial opened up a new world of quilting for me and I just passed it on to a friend who is learning to quilt... I still use this technique today 3 years later. thank you for sharing it!
ReplyDeleteThank you so much for this tutorial. I've really struggled with free motion quilting, and this helped very much.
ReplyDeleteThankyou so much for this tutorial. I'm a little intimidated by a quilt I need to quilt. is it ok to sew over applique? I have four applique blocks in the quilt, the rest are pieced cats? It's for a sailor who loves cats and I think the wavy lines would be perfect. What do you think, can any pattern be quilted like this? Thankyou!
ReplyDeleteHi Jacqui! You can definitely quilt over applique! Just maybe go a little slower if it's bulky going through the extra layers of fabric. Good luck! :)
DeleteThank you for this tutorial. I have a baby quilt waiting and this wavy line will be just perfect.
ReplyDelete